|
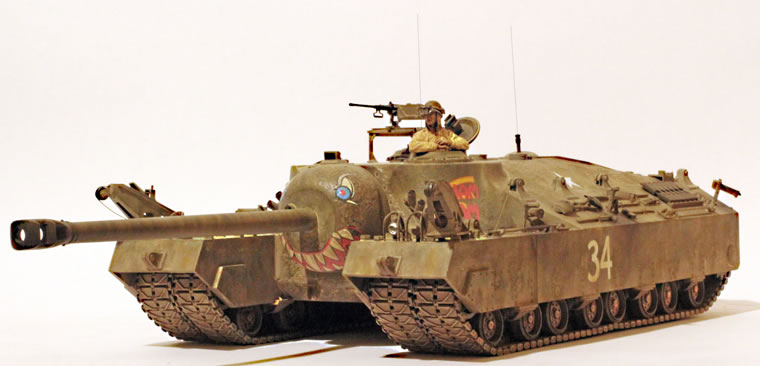
T28 Assault Tank |
Dragon, 1/35 scale |
 |
| by Steve Zaloga |

Description
The “World of Tanks” on-line wargame has fostered a great deal of interest in super-heavy tanks. There has been a flurry of activity in the modeling world on this theme, with recent kits of the Tortoise to add to existing kits of the German super-heavies. I never thought we would see the T28 in plastic, but these days, nearly anything seems possible.
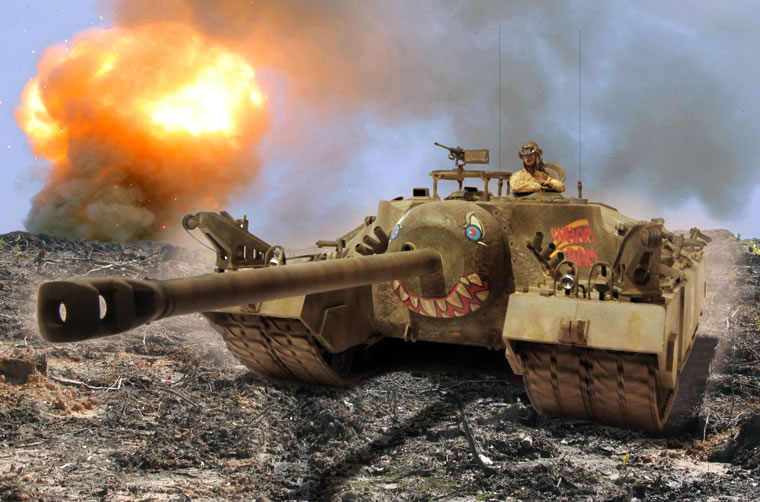
The new Dragon kit has generated some controversy on Missing Lynx due to accuracy concerns. I am not going to re-iterate this argument here, but basically, it involves the use of M4 HVSS suspension components instead of the slightly smaller versions purpose-built for the T28. This led to some width issues. It would be nearly impossible to correct short of complete re-building. I decided to build the kit out-of-the-box as a “What-If?” 1946 production version of the T28, so the accuracy issues are basically a moot point. I added T1 Skink anti-personnel devices and smoke mortars to my model, both of which were features under development in 1945. I also gave the driver figure some infrared binoculars and used some colorful markings.
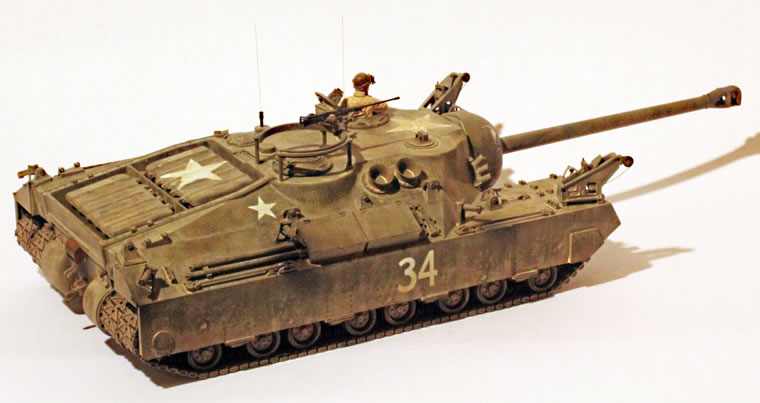
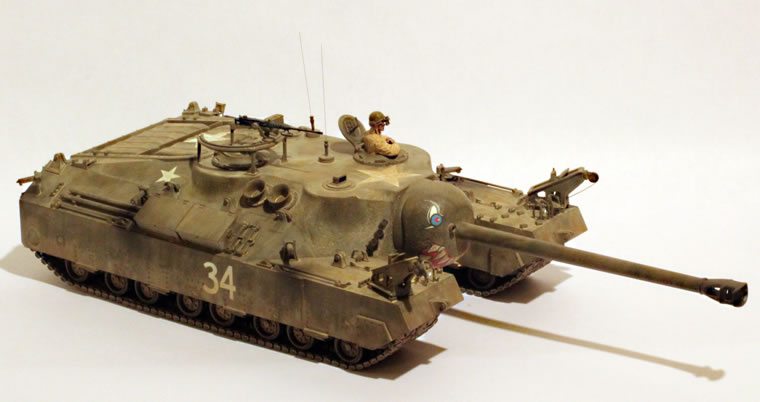
The Dragon kit goes together reasonably well. The kit suspension is very complex, but since little of it will be seen, I didn’t use most of the kit parts for the bogie assemblies. I minimized the parts to those that will be seen on the finished model. This meant that I could get the suspension together in a couple of evenings. The rest of the model proceeded quite quickly. I added a lot of texture to the gun mantlet using a power tool and some liquid cement. I was not keen on the photo-etch boxes on the right side, so I replaced these with plastic boxes. The kit is a bit spare on the tool selection and lacks the track tools on the right side in front of the bins. I made these from sheet plastic. I also did a few small detail improvements on the turret roof, and added radio posts.
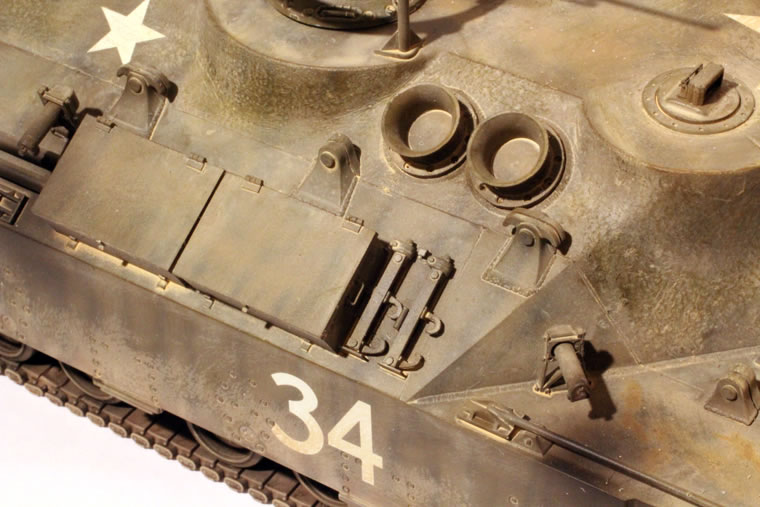
I finished the model in overall Tamiya olive drab, lightened a bit using dark yellow. The model is very large and would be quite dull without extensive weathering. I used some “hair-spray” techniques on the hull side to create a weathered mud effect, and then did a weathering using some AK Interactive 022 light dust wash. Once dry, I did dry-brushing using some darkened Humbrol olive drab to enhance the casting effects on the model. I used Tamiya Smoke for the burned areas near the T1 Skink projectors, which were a type of multi-shot flame thrower for close defense against Japanese infantry.
Overall, this kit is a fun build for modelers who are not overly fastidious about the accuracy issues.
Model, Images and Text
by Steven J. Zaloga
Page Created 6 January, 2013
Page Last Updated
6 January, 2013
|