M1296 Stryker Dragoon |
AFV Club, 1/35 scale |
 |
by Blaine Singleton
photos by John Miller |

Description
The IAV (Interim Armored Vehicle) Stryker is a family of eight-wheeled armored fighting vehicles derived from the Canadian LAV III. Stryker vehicles are produced by General Dynamics Land Systems Canada for the United States Army. It has 4-wheel drive (8×4) and can be switched to all-wheel drive (8×8).
The vehicle is named for two unrelated U.S. soldiers who posthumously received the Medal of Honor: Private First Class Stuart S. Stryker, who died in World War II, and Specialist Four Robert F. Stryker, who died in the Vietnam War.
The first upgraded XM1296 Stryker "Dragoon" was delivered for testing on October 27th, 2016, with fielding to begin in May 2018. The first Infantry Carrier Vehicle - Dragoon (ICVD) was delivered to the 2CR in Germany on December 8th, 2017.
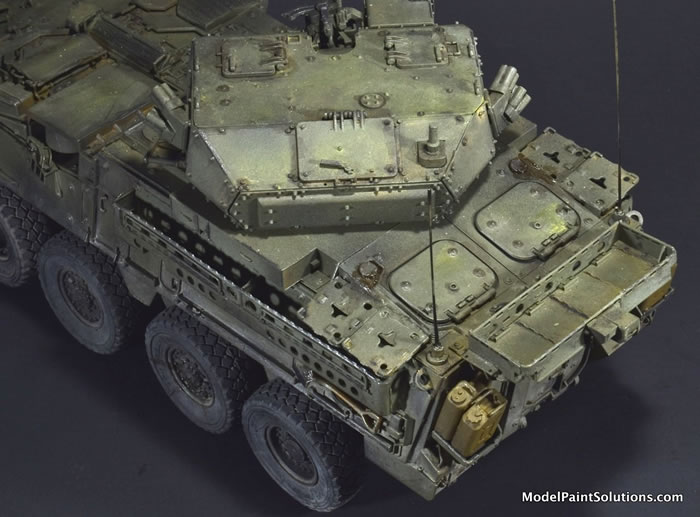
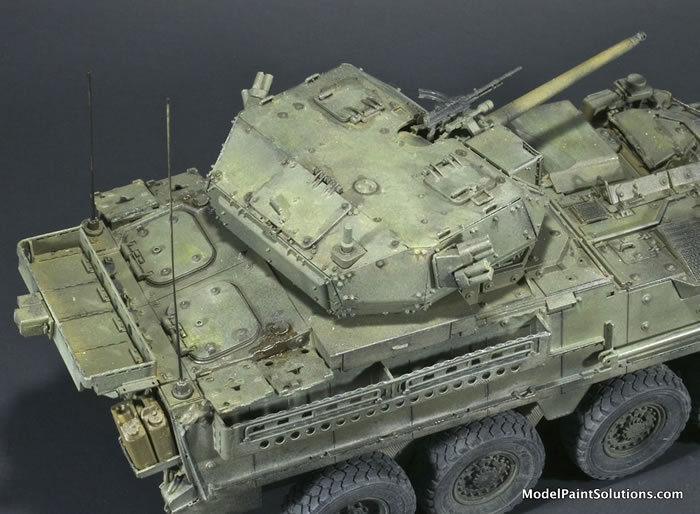
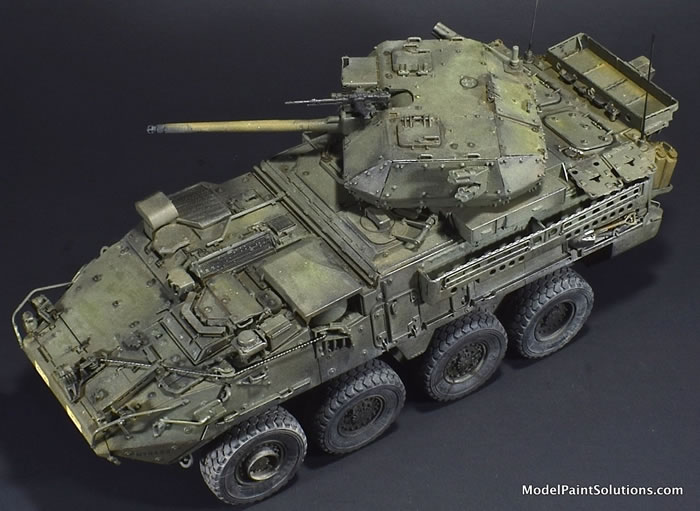
T h e B u i l d
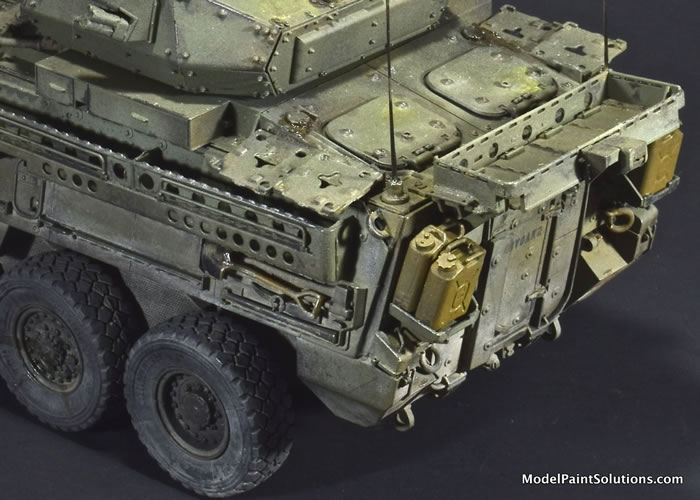
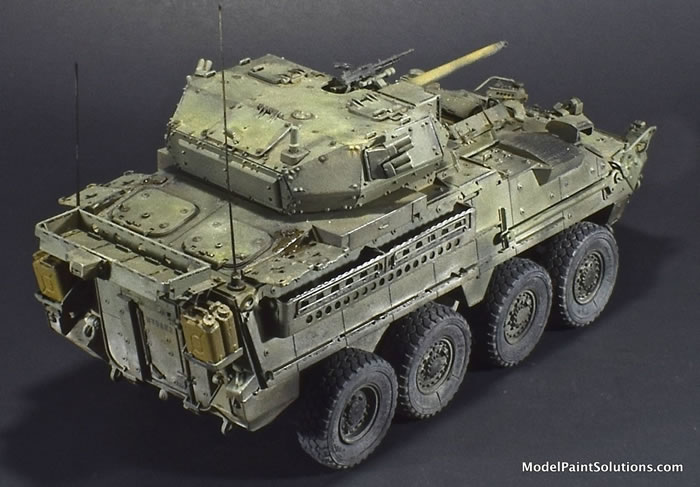
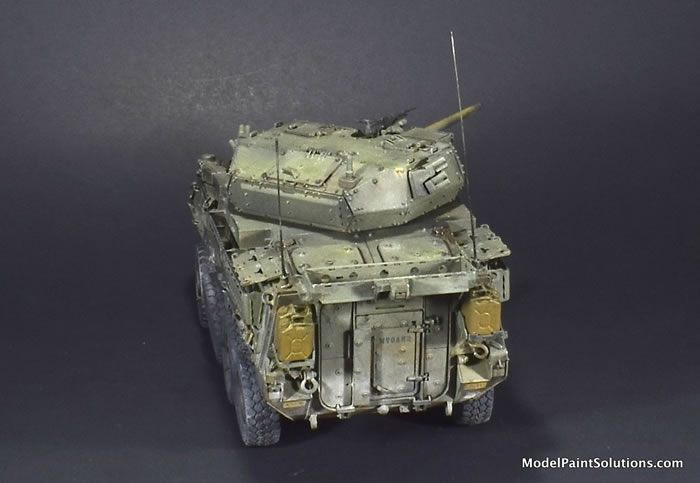
The kit’s jerry cans on the back of the model were painted with Mission Models US Army Sand MMP-086 (50:50; Paint to Thinner with one drop of Mission Clear Primer/2ml paint cup).
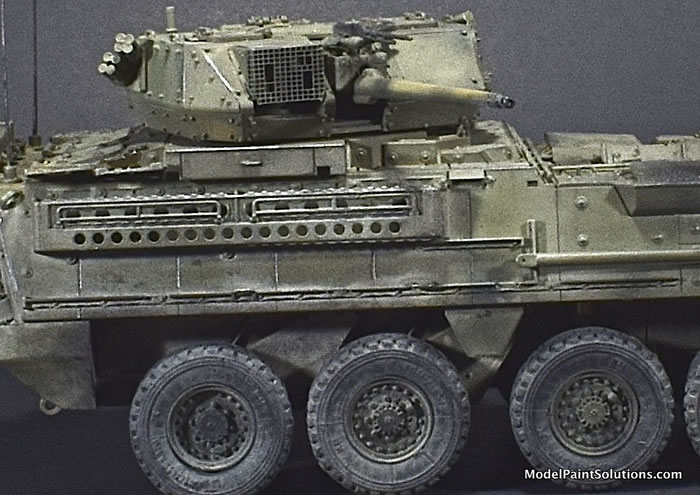
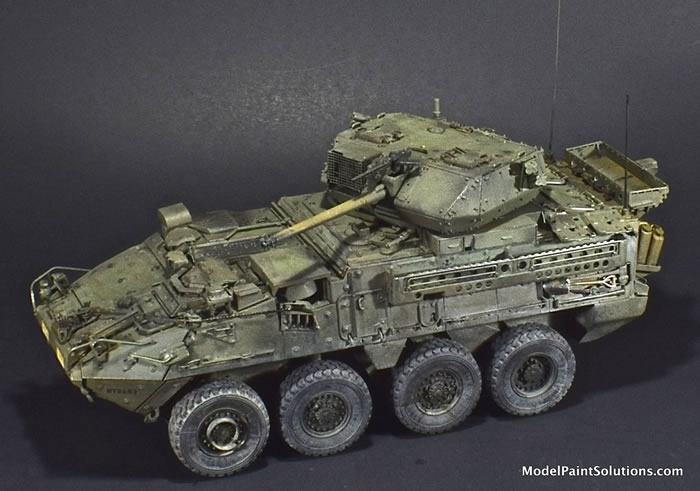
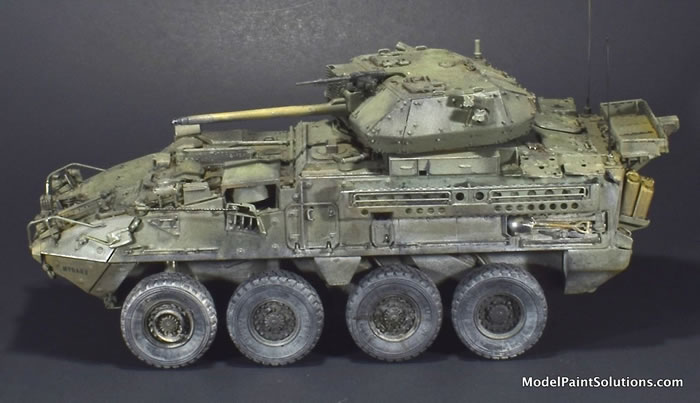
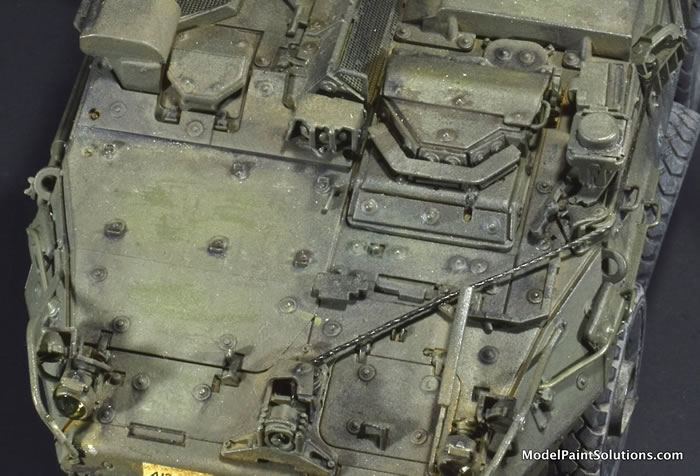
A filter of Abteilung 502 Olive Green oil paint mixed with Mona Lisa Odorless enamel thinner was applied to the overall model. This effort gave the effect of modulation to the paint.
After applying the decals, I applied a clear coat over the model using Mission Models Semi Gloss Clear (30:70; Semi-Gloss to Thinner) sprayed in light coats to give the model an even coating and cover the decals.
For paint chipping I used a custom mix of Mission Models Black, Brown, and Red. The mix was applied to areas susceptible to chipping on the real vehicle, via foam pad pieces dipped in the paint. The foam was dabbed on a paper towel to remove most of the paint then applied to the model.
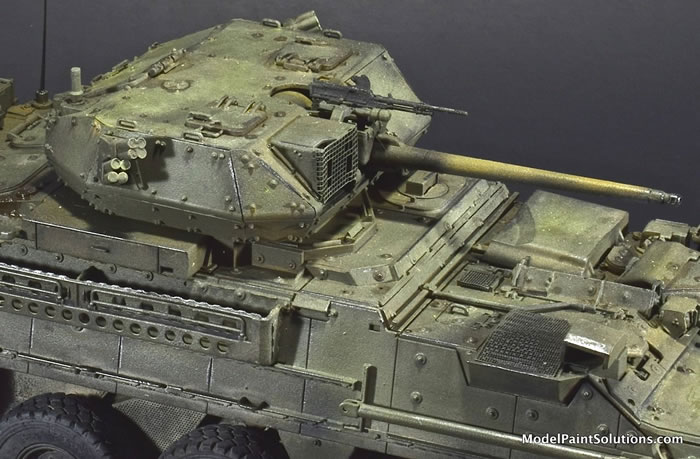
Abteilung 502 Sepia was mixed with Mona Lisa Thinner producing a pin wash that was applied around hatches and on rivets. For oil paint high lights, I used Abteilung 502 paints Light Green, Dark Green, Blue, and Buff applied as a dot filter and then blended.
I airbrushed Black Ink onto all the grillwork of the model to give it a smoked effect. Highlighting some areas of sharp angles on the model was done with graphite to give it a metalized look.
I used Vallejo Pigments applied to the running gear and fender areas to give the model a dusty look. The pigments were applied quite heavily. Then, I removed multiple layers of the pigments to get the amount of dust I was looking for.
I have not used AK Interactive Weathering Pencils much before, so I decided to give them a real try on this model. First, I applied pencil marks in areas I wanted then came back with a damp paint brush and was able to blend the colors into the basecoat. I will use this technique on more models now because I was quite happy with the results.
I used a coat of Mission Models Matt Clear to take the shiny sheen off the model. When that was dry, I came back in a few small areas and sprayed some of the base coat to give a varied sheen over all.
There are four clear parts at the base of the turret that needed to be masked before paint application. I applied Mr. Sol R Liquid Mask fluid (the one in the Blue top as this mask has no ammonia in it to disturb the surrounding paint).
While this was a great build that results in a pretty detailed model, I have a few criticisms and points to watch out for.
One of which is some of the sprue attach points. A good (bad?) example of this can be found in the placement of an attach point between the hinges of a hatch. This area is very small to get into and the sprue is difficult given the hinge mechanism of the hatch. I think the sprue attachment could be on a different part of the hatch that would make part cleanup easier.
Next is an area associated with the assembly of a headlight unit (step 29). One of the pieces has no part number. Given all the sprues in this kit, this is a bit of a challenge that could have been taken care of by an edit of the instructions.
Some sub-assemblies had too many parts to them, like the head light unit. I think this could have been done with fewer parts and still been quite detailed. Given an assembly that requires several parts, it would be nice to list the sequence of part assembly. I found some confusion with a couple of assemblies that I added the wrong part only to find out that it was out of sequence and had to be removed. This also could be accomplished by a further edit of the instruction sheet.
One thing that I thought was a nice touch were pictures of assemblies on the real vehicle included in the instructions. Not only were the photos of assemblies appreciated to see their configuration, it is also great to see a color photo of the real color of the vehicle.
C o n c l u s i o n
The AFV Club Stryker M1296 Dragoon will be a nice addition to anyone's model collection. The model has a lot of detail and parts fit together nicely. Thank you to AFV Club for the opportunity to build and review this model
For more on this review visit ModelPaintSolutions.com.
Text and images copyright © 2019 by Blaine Singleton and J. Miller.
Images and Text by Blaine Singleton and J. Miller
Page Created 1 March, 2020
Page Last Updated
1 March, 2020
|

_fs.jpg)