Waltzing My Matilda Building Italeri's Matilda in Braille Scale
Italeri,
1/72 scale
by Glen Porter
Description
As far as I know, there have only been three Matildas in Braille
Scale, two in 1/76th and one in 1/72nd scale.
The first littly, by Airfix, is one of their better 1/76 scale kits
and the other by Fujimi I haven't seen but I'm told is not as good
as the Airfix offering. The best, I believe, is the old Esci kit
recently re-released by Italeri. I reviewed this kit on HyperScale
several months ago.
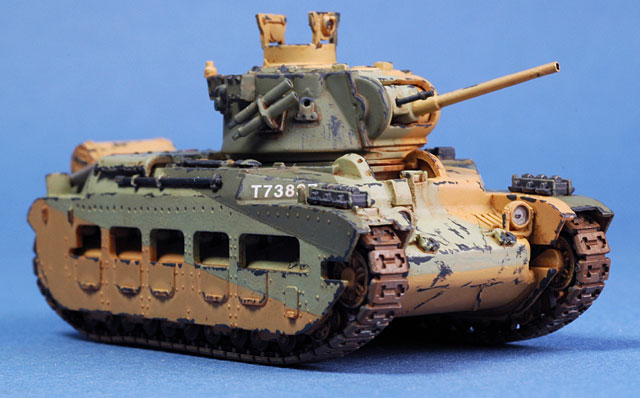
Like all older small scale kits it has faults, in this case mainly
around the nose. The forward track guards are too wide causing the
front of the hull to be too narrow. A smaller fault, and easier to
fix, is the weld seams on the nose which are in the wrong place.
Being the lazy sod that I am, I didn't worry too much about the
track guards and just altered the position of the welds. I did
however, thin the visible ends of the guards to a more scale
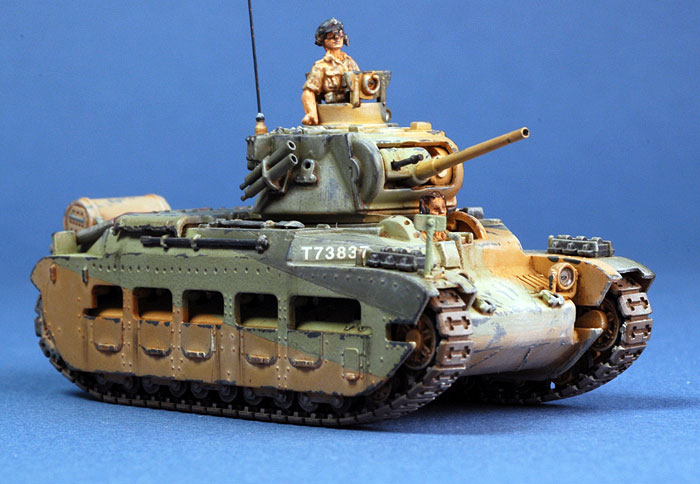
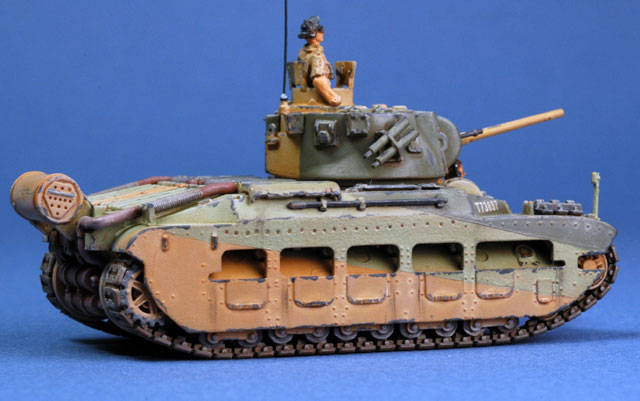
thickness and I scratch built the smoke grenade thrower on the right
side of the turret as it was unusable from the kit. The rest of the
kit was built more or less out of the box.
And hasn't this kit got some detail! Most of Esci's later kits got
link and length tracks but not this one. In fact, as far as I know,
after it first appeared, it was not seen again until Italeri's
re-pop. It has been missing from the Esci Range for so long that
everyone thought that, along with some other missing kits, the
moulds had been destroyed or lost. The tracks that do come with the
kit are rubber bands of course, but in a later material as used by
Italeri and well moulded and therefore quite usable considering that
the top run of tracks are not seen. It has a parts count like one of
the latest offerings from Dragon and makes the Airfix and Fujimi
kits look quite naked.
The fact that this is 1970s/80s technology means there is still some
clean-up to be done and the myriad of road wheels were all cone
shaped and had to be filed straight.
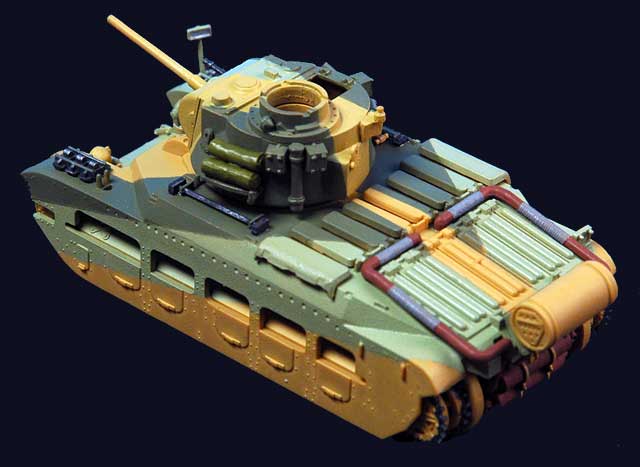
When I fitted the side skirts to the upper hull, they were not a
particularly good fit and I had to use some filler to get rid of the
seam. This, unfortunately, removed some of the rivets which are
along the outside top of the track guards, front and rear and along
the centre top section of the side skirts. I tried to replace them
by drilling a series of small holes in a straight line but it was
not effective enough and I abandoned it after the side skirt centre
was done.
About eighteen months ago, I reviewed for Hyperscale some enamel
paints from Xtra Color, Light Stone, Silver Grey and Slate. These
three just happen to be the three basic colours for the British
Army's Caunter Scheme. At the time, I didn't have a suitable model
on which to demonstrate these colours and it turned out to be a bit
of a compromise. I promised myself that as soon as a suitable model
came along, I would have another go with them. Well, here it is.
The Matilda is the one vehicle that almost everyone equates with the
Caunter Scheme. Just about every kit of the Matilda in any scale has
at least one Caunter in it and every book on the Matilda is
similarly endowed. Unfortunately, for many years, most people have
got the colours wrong including the kit manufacturers and book
illustrators. A year or so ago, well-known British Armour Colour
Reseacher, Mike Starmer, published a series of books on British
Armour Colours from research he and others had done on the subject.
One of these was on the Caunter Scheme. Now the Extra Color paints,
that I mentioned earlier, match the swatches in Mike’s book to such
a degree that I think they probably used them as a reference for the
paints.
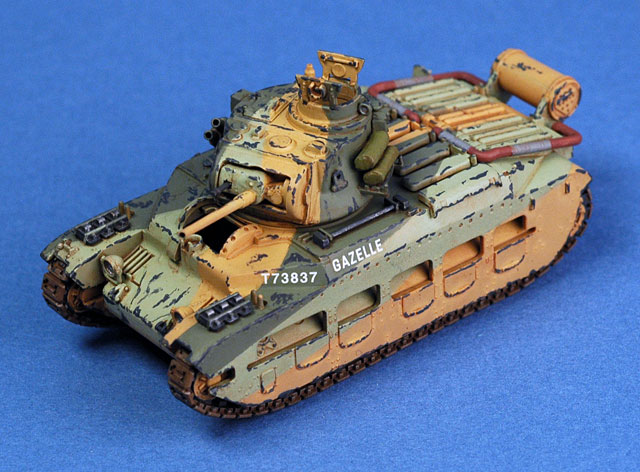
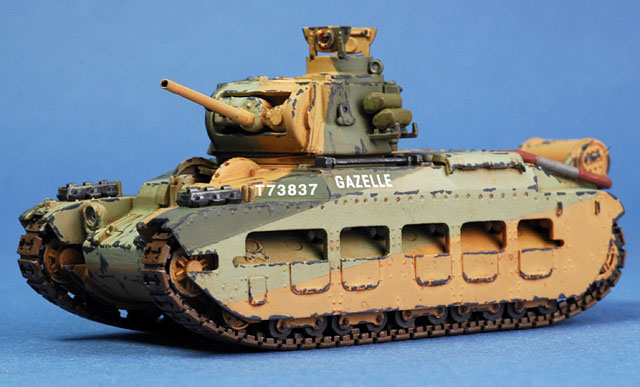
The next problem was determining where the colour demarcations
should be on the model. Because I had no photos of a Matilda in the
Caunter Scheme, I had decided to model a generic vehicle with
fictitious markings so the demarcations didn't have to be exact.
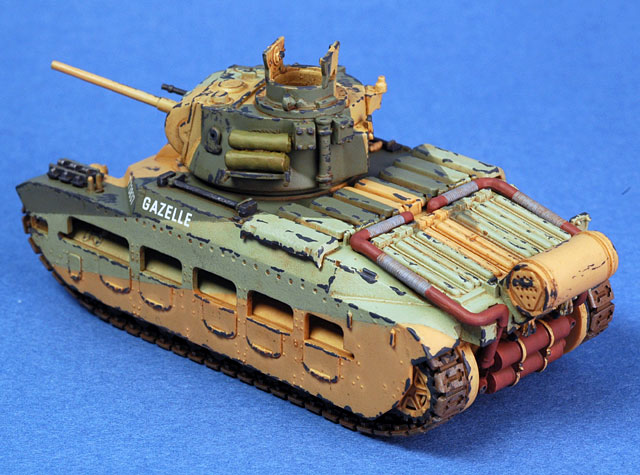
From various other references, I was able to work out the
demarcations for the front hull, sides and turret but not the engine
deck so this is fictitious and some what simplified.
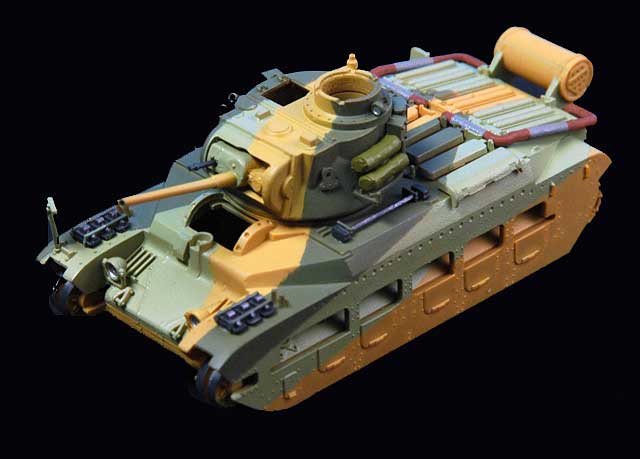
Before all the smaller bibs and bobs were added to the hull and
turret, I painted it over-all Light Stone. This was before I had
joined the upper and lower hull but with the side plates added to
the upper I found that I could slide the lower hull in from the rear
to match the camo scheme. I then masked up the areas to be painted
Slate with the Silver Grey coming last. On completion of these three
colours, all the small bits that I had left off before were now
added and hand painted to match the camouflage. The upper and lower
hulls were now joined and the exhaust system fitted.
The tracks were painted before
fitting and simply poked into the cavities at the front and rear of
the track guards until they were tight around the drive sprocket,
road wheels and return roller which had already been fitted. I glued
the tracks down using thickened Tamiya Liquid glue which I bought
from my local Hobby Shop but I believe it is made by dissolving
Tamiya clear sprue in the glue. It has a million uses and because it
has it's own body, small bits tend to stay where you put them
instead of falling over.
The whole model was glossed and the few fictitious decals were
added. I am lead to believe that only the very last few Matildas
left in Caunter got the White/Red/White recognition markings so
these were left off. In fact, the only markings I ended up using
were serial numbers and vehicle names but I must stress again this
does not represent an actual vehicle. After the decals were
thoroughly dry, I gave them another light coat of gloss to seal them
in.
Over the next week, while waiting for the gloss to cure, I went over
the whole model with a fine brush and Tamiya German Grey Enamel to
simulate where I thought the paint would have been worn off. This
tends to look too stark but will be toned down later with Tamiya
Weathering Pastels. Several fine coats of MM Dullcote was then
sprayed on to matt it down.
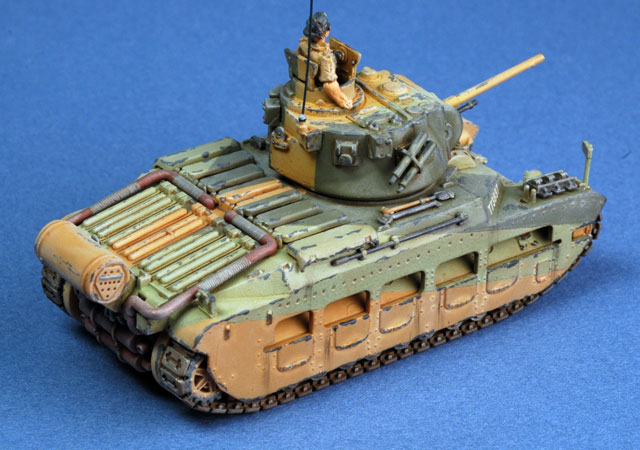
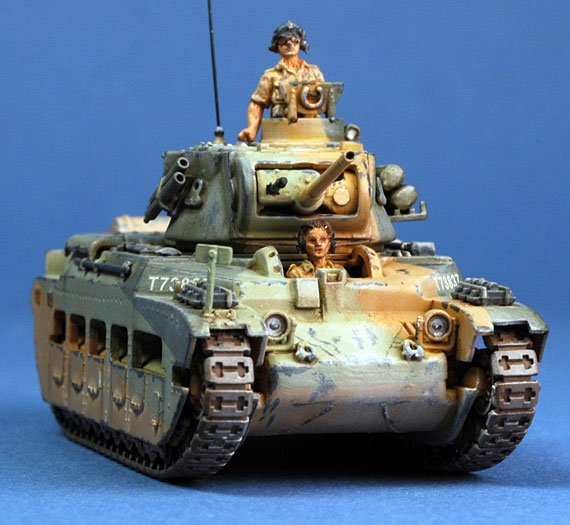
The figures are from AB and on first acquiring them I was not very
impressed. Many of the features such as eye sockets and the like
looked too deep but as they were all I had, I decided to give them a
try. To my surprise, when I started to paint them, they improved
dramatically to the point that I ended up being quite happy with the
result and will definitely use them again.
With the figures painted and mounted, all that was left to do was
dust it down with the pastels. I really like using these products.
As well as making the model look dirty and dusty as it would after
several months in the desert, it also lightens the colours and tones
everything down such as markings and the scratch marks mentioned
above. The Tamiya product also allows you to handle the model far
more than conventional pastels.
With the addition of a radio aerial the model is complete. I must
admit, I've realy enjoyed this project because it's like nothing
I've ever done before. I've also seen other models made from the
same kit that are far better than mine, with almost all of the
external equipment being scratch built but thats not my way as my
scratch building skills are some what limited.
Anyway, I hope you enjoy reading
about and looking at it as much as I've enjoyed building it.
Click the thumbnails below to view additional images: